
Free Alphabet Tracing Worksheets: Letter Formation Practice for Kindergarten & Year 1
If you’ve ever watched a five-year-old grip a pencil like it personally wronged them and drag it across the page in whatever direction feels right at the time, you already know why letter formation practice matters. My own experience with early handwriting has taught me that kids don’t magically know that a “b” starts at the top, or that you don’t build a capital “E” out of four separate little dashes that only vaguely resemble each other. They have to be shown, over and over, in a way that doesn’t feel like a chore.
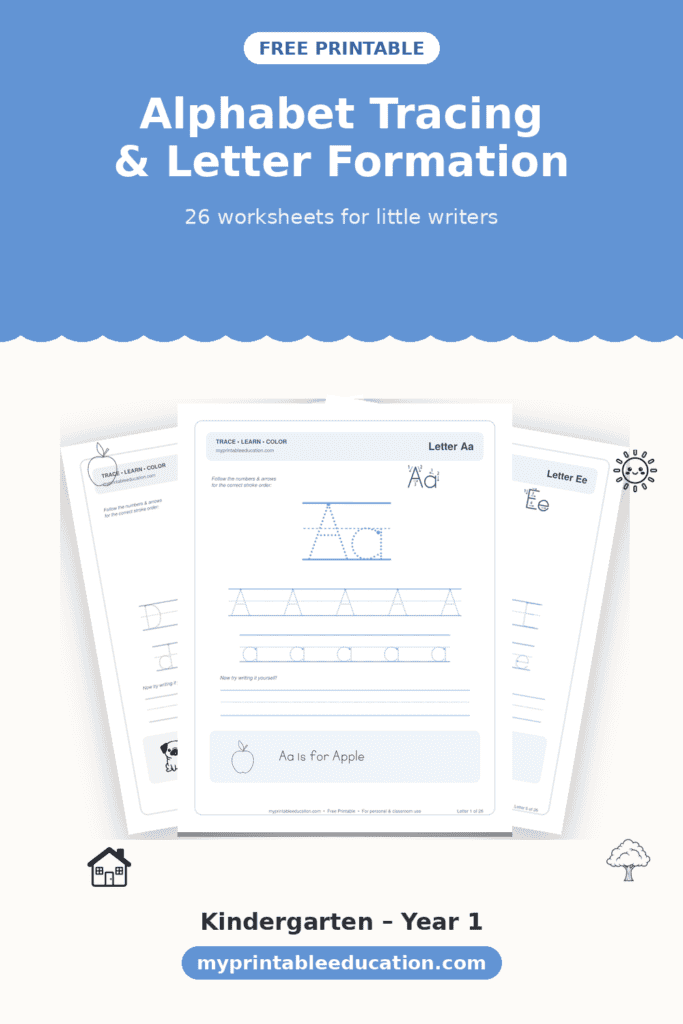
That’s exactly what this new free printable is for. It’s a full set of alphabet tracing worksheets — all 26 letters, uppercase and lowercase — designed for kids who are just getting started with writing, roughly Kindergarten through Year 1. You can grab it further down this post, but first let me walk you through what’s actually in it and why I put it together this way, because there were a few deliberate choices that I think make it more useful than the average tracing sheet you’ll find with a quick search.
Why letter formation deserves its own practice
A lot of early writing resources jump straight to copying words or short sentences, which is great once a child already knows how to make the letters. But if the underlying letter formation habits aren’t solid yet, that jump can lock in some awkward habits early — starting letters from the bottom, building them out of disconnected strokes, that kind of thing. Those habits are hard to unlearn later, way harder than teaching them right from the start.
So this pack goes one step earlier than most of the writing worksheets I’ve shared before. It’s not about writing sentences or even whole words yet — it’s about giving little hands the repetition they need to learn where a letter starts, which direction it moves, and how uppercase and lowercase versions relate to each other. Once that’s second nature, moving on to words and sentences goes a lot more smoothly.
What’s in the pack
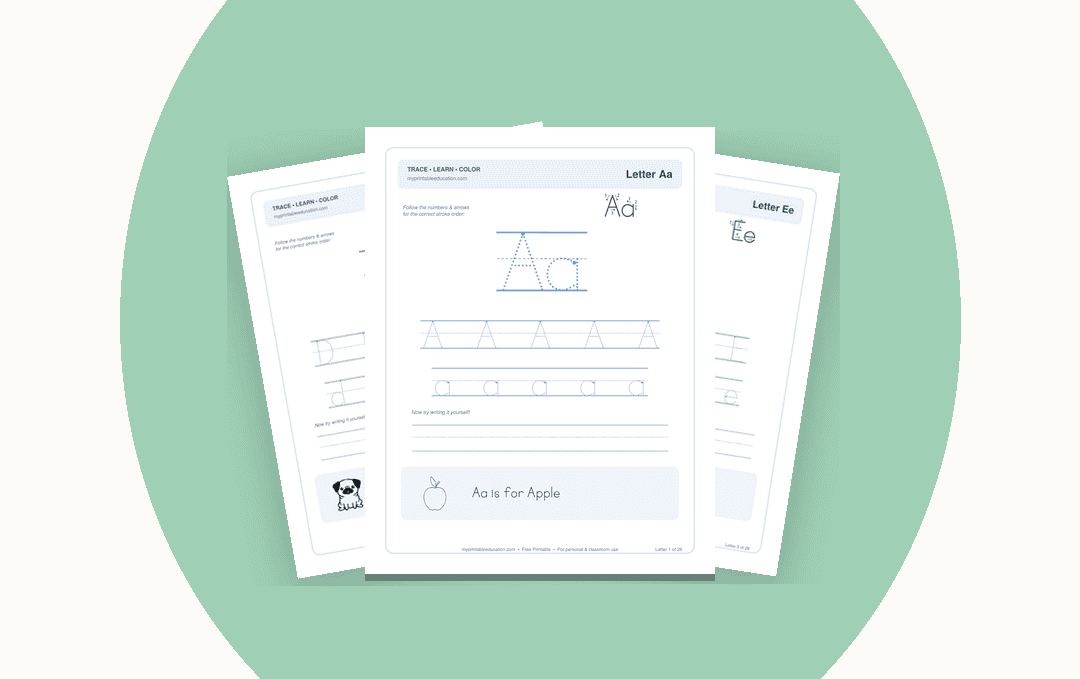
Each of the 26 letters gets its own full page, and every page follows the same layout so kids (and you) always know what to expect:
A big version of the letter, both uppercase and lowercase, made up of soft dots for tracing with a finger or a crayon before picking up a pencil. This is honestly one of my favorite parts — tracing with a finger first, before adding the pressure and precision a pencil demands, takes a lot of the frustration out of it. It also just feels a bit playful, which helps.
Underneath that, there are two rows of smaller practice letters sitting right on proper handwriting guide lines — the kind with a top line, a dashed middle line, and a base line, so kids start getting a feel for where tall letters, short letters, and hanging tails (looking at you, g, j, p, q, and y) are all supposed to sit. One row for uppercase, one for lowercase.
Then there’s a blank practice line with no letters at all, just guides, so your child can try writing the letter independently once they’ve had a few goes at tracing it. This is the bit where you actually get to see what’s sinking in.
Finally, every page ends with a simple line drawing tied to that letter — an apple for A, a house for H, a whale for W — with the phrase “[Letter] is for [Word]” underneath. These are left uncolored on purpose. They’re simple black-and-white line art, so your child can color them in while they say the word out loud, which sneaks in a bit of fine motor practice and phonics reinforcement without it feeling like extra work. It also means you’re not burning through color ink printing a 26-page pack, which, if you’ve ever had a home printer, you know matters more than it should.
How I’d suggest using it
You don’t need to sit down and do all 26 letters in a week. In fact, I’d actively recommend against it. A page or two a day, or even a couple of pages a week if that fits your rhythm better, is plenty. Handwriting is one of those skills where a little bit of consistent practice beats a big cram session every time — the muscle memory needs time to actually set.
A few ways this has worked well in our house, and that I’d guess will work in yours too:
Start with the letters in your child’s name. Kids are far more motivated to learn to write letters that spell something meaningful to them, so if your daughter’s name starts with M, don’t feel obligated to start at A. Skip ahead.
Use the dotted letters as a warm-up, not the main event. Have your child trace the big dotted version with just a finger first — no pencil — while saying the letter sound out loud. Then move to the pencil rows. By the time they get to the blank practice line, the motion is already a little familiar.
Keep the crayons nearby for the picture at the bottom. It’s a nice way to close out the page, and if your child finishes the tracing rows a bit tired or wriggly, coloring in the apple or the fish is a good way to let the lesson end on something relaxed rather than something that felt like the last five minutes were a struggle.
Don’t stress about descenders and perfect proportions on the first attempt. The blank practice line is there to show progress over time, not to be marked correct or incorrect. Some of the trickiest letters — g, s, and cursive-adjacent shapes like the lowercase a — take a good few weeks of exposure before they consistently look “right,” and that’s completely normal.
A note on age and pacing
I’ve pitched this at Kindergarten and Year 1 level, but honestly, letter formation readiness varies a lot from kid to kid, and that’s fine. Some four-year-olds are itching to hold a pencil and will fly through this. Some six-year-olds still need the big dotted tracing letters and finger-tracing before they’re ready for the smaller guided lines, and that’s fine too. Follow what your child is actually ready for rather than what a grade label suggests, especially if you’re homeschooling and have the flexibility to do exactly that.
If your child is still developing the fine motor strength to hold a pencil comfortably, there’s no harm in spending an extra week or two just on the big dotted letters with a finger, or even a dry-erase marker over a laminated page, before introducing the smaller practice rows. Handwriting readiness is a real thing, and pushing too early tends to build tension and frustration rather than skill.
Grab the free printable
The full 26-page set is free to download — just click through below, print it at home on regular printer paper, and you’re set. It’s designed to print cleanly in black and white (aside from the small colored trace letters, which use very little ink), so it won’t chew through a color cartridge even printing the whole alphabet in one go.
If this is useful, I’d love to hear how it goes in your homeschool — and if there’s a particular letter your child is finding tricky, let me know in the comments. I’m always tweaking these based on what other families run into, so it genuinely helps to hear about it.
Happy tracing!


